Written by Education Outreach
April 8, 2021
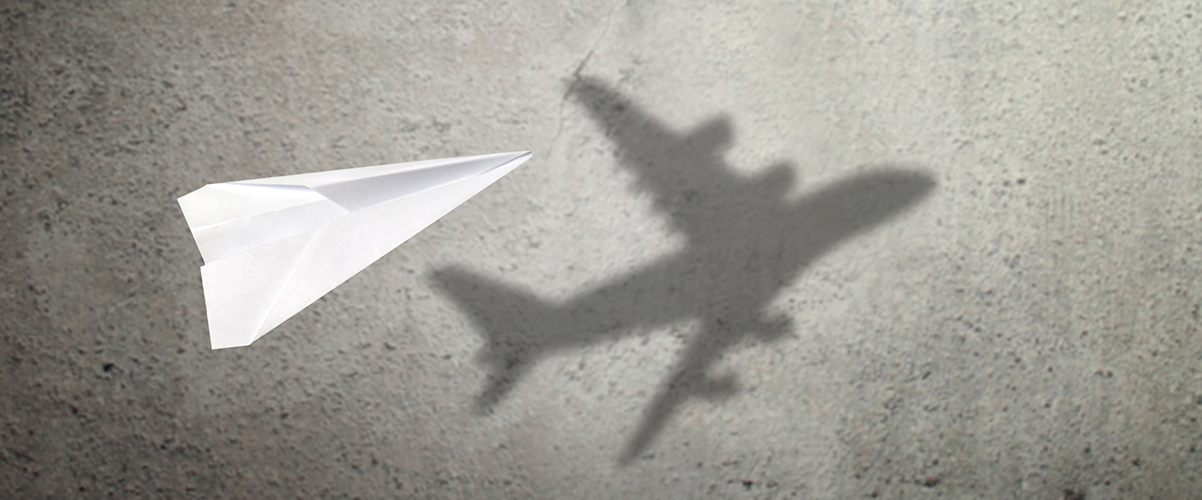
From Leonardo Davinci to the Wright brothers, paper has been truly instrumental to learning how to get objects to fly. Beginning with the Chinese – the creators of modern paper – the art of the paper airplane, like all origami, has hinged on the balance of design – from the weight and texture of the material used to how it is folded.
Nearly everyone makes a paper airplane at some point. It’s an easy and accessible entry to the world of engineering design and experimentation. Testing different approaches even at the smallest scale gives insights into the physics of flight.
PAPER CHASE
Material matters when designing a plane. The density and weight impact the force of energy needed to further extend its flight before the force of gravity pulls it back to Earth. When engineers develop new airplanes, they have to consider everything from the type of cargo it will carry to changes in temperature and pressure.
Use the guide below to test five different airplane models with similar but contrasting materials while collecting evidence on which works best and why.
MATERIALS
The items needed for this experiment are:
- Downloadable Create Paper Airplanes Activity Guide
- Printer paper
- Wax paper
- Construction paper
- Magazine paper
- Heavy card stock paper (check office supply stores)
- Ruler
- Scissors
- Writing utensil
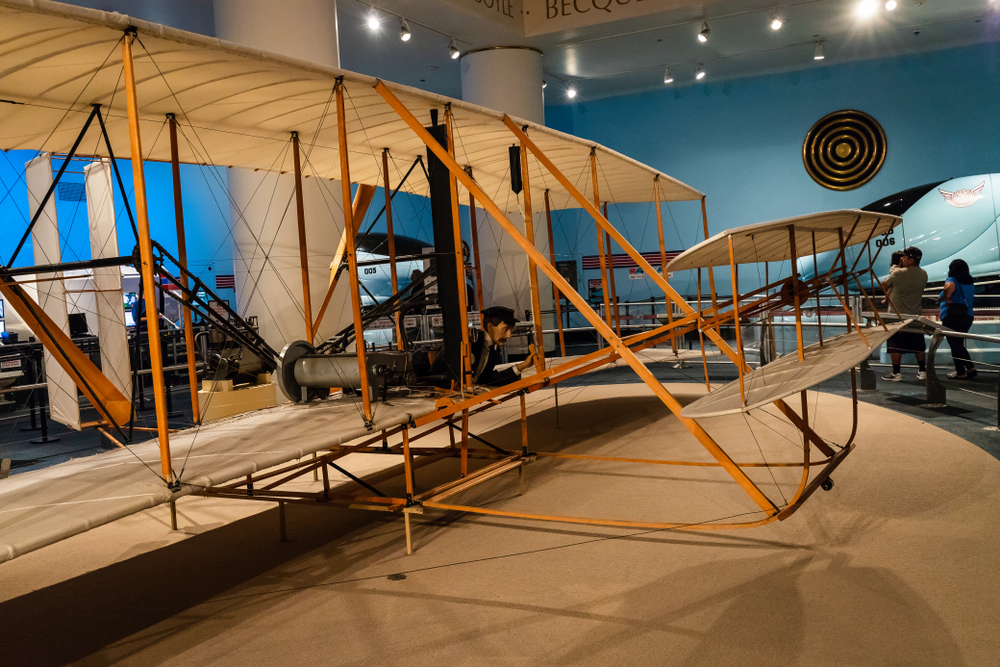
Paper wings? Located in Chicago’s Museum of Science and Industry, a prototype flying machine model from the Wright Brothers hangs from the ceiling.
EXPERIMENT GUIDE
This experiment asks the question: Will a paper airplane fly with any type of paper?
Step 1: Cut each material so all are the same size
Take the materials and measure out an 8’’ by 8’’ square with a ruler then mark each with your pencil. Safely cut the printer, wax, magazine, construction paper and aluminum foil with scissors.
Step 2: Fold paper airplanes
Follow the folding guide in your experiment data sheet for each of the five different materials. Lay them all next to each other.
Step 3: Make a Hypothesis
A hypothesis is an educated guess. Looking at your five different airplanes, which do you think will be the most successful? The least successful? Why? Input your hypotheses in the table labeled “Step 3: Make a Hypothesis” found in the downloadable data sheet and rank accordingly.
Step 4: Observe
Now is the fun part! Fly each of your planes. To keep it consistent try to launch each with the same amount of power from the same location. Now observe what happened. Measure from the starting point to the landing spot. Rank them from farthest to shortest distance in the table referenced above.
Step 5: Communicate Results
So what happened? Do you think your results were similar or different to others?
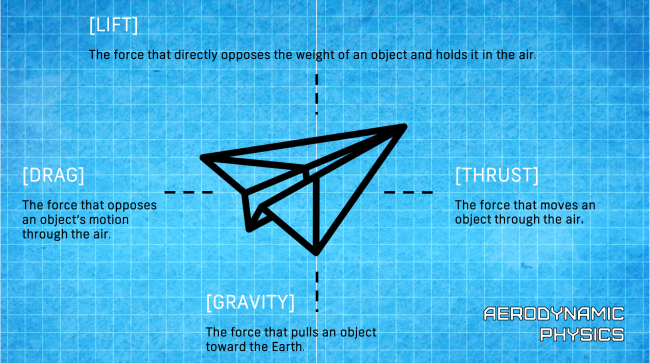
Learn more about the principles of physics (lift, drag, gravity and thrust) by comparing and contrasting to others who performed this experiment by posting online!
Every person takes a unique approach, in this case both artistic and scientific, so let’s see what you built and which worked the best for you. Share images and videos with us on social media @FIUCASE.
NOW WHAT?
The great thing about experiments is they never really end. There are many ways to repeat while introducing new variables to shift the focus of the question. Instead of types of materials, test different sizes, shapes or folding techniques.
Really want to launch design thinking skills? Try out another FIU@Home activity with the help of our staff and other campers in our virtual Camp Inspire.